
HOW I EDIT.

One of the questions I get asked most frequently is 'how do you edit your photos?'— so I knew when I started this new blog I would want an editing tutorial to be one of my first posts!
I kind of want to add a disclaimer here— this is just the way I like to edit my Instagram photos at the moment and I change and discover new ways of editing all the time. These are just some ideas of how to edit a photo, I love seeing different types of edits, I don't think one particular way of editing is any better than any other way, so you do you!
So with that said keep reading to find out how I edited my most recent Instagram picture...

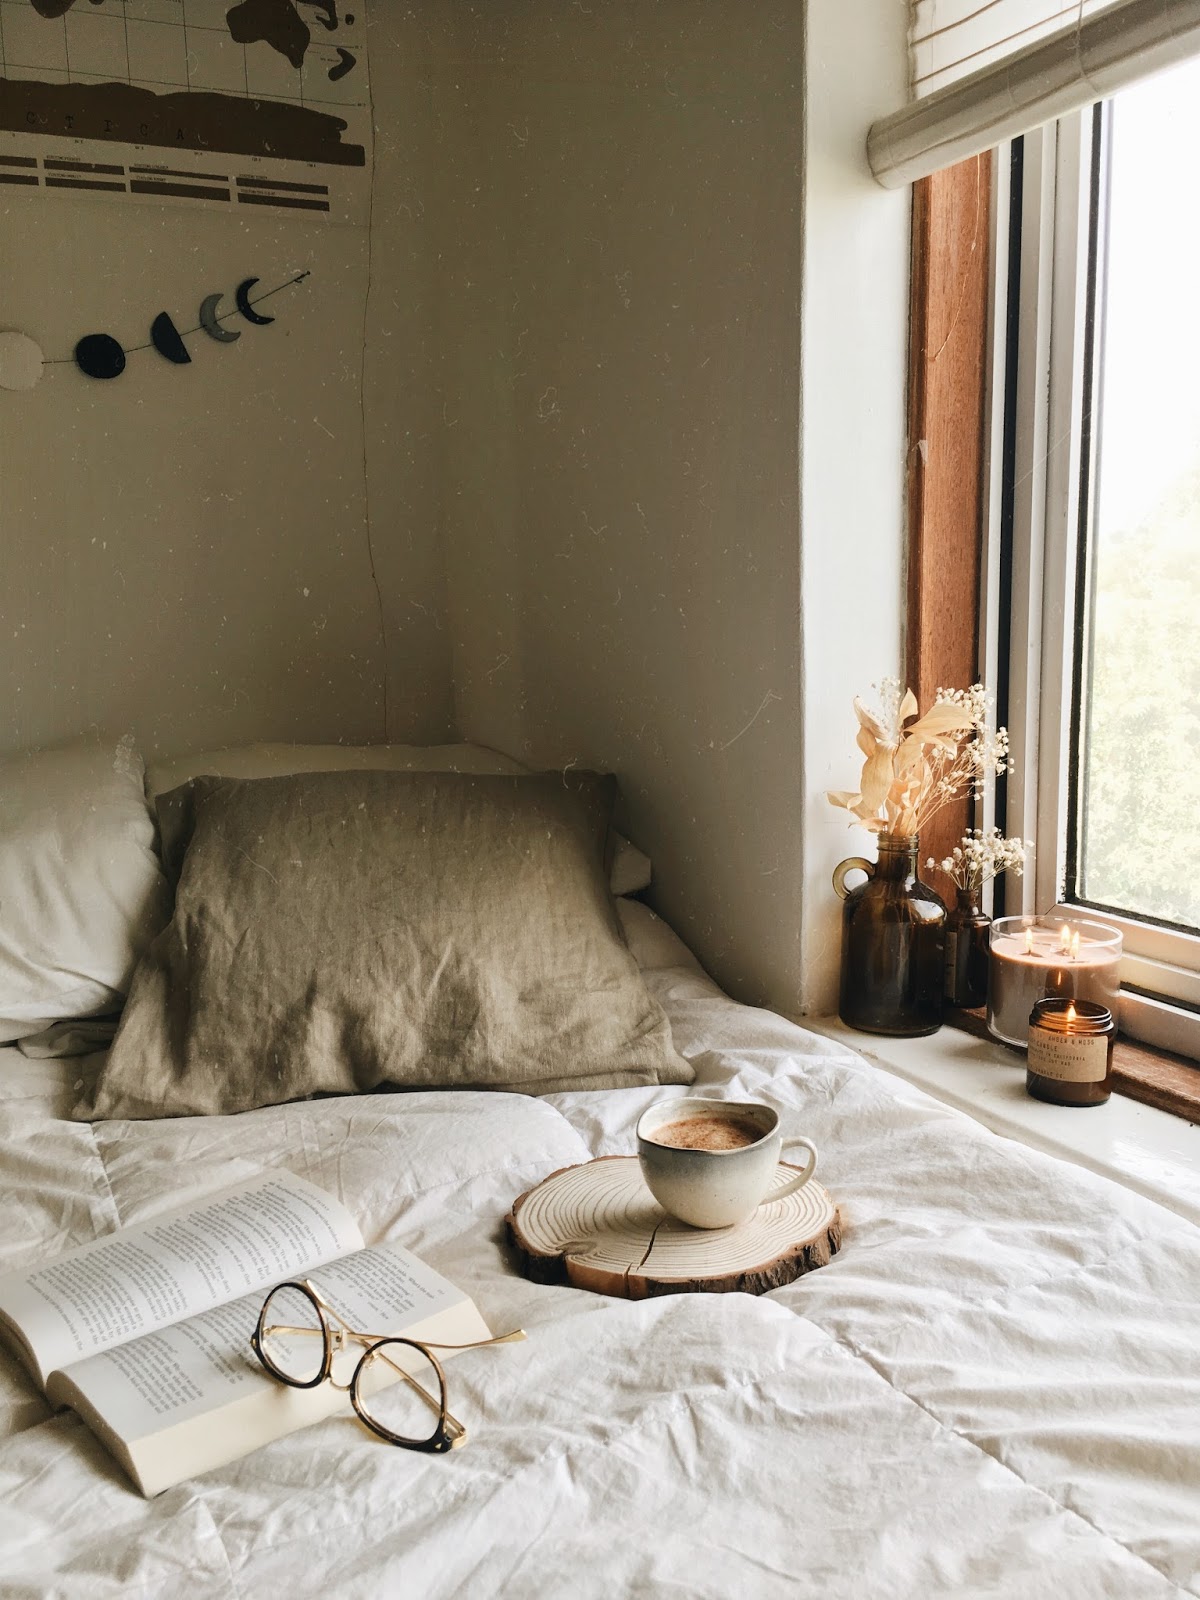
This is how the photo looks completely unedited— taken on my iPhone SE. To edit I use
three apps— Afterlight, VSCO & Snapseed...

The first thing I use is Afterlight (it costs £0.99 but in my opinion it's totally worth it, if only for the dusty and light leak filters!) I started by clicking on the clarity button and turning it up to around 20, I tend to judge it by whatever looks good!
When I'm editing a bedroom shot like this one I like to turn the brightness up quite a lot so that's what I do next. With this picture I turned it up to around 37.
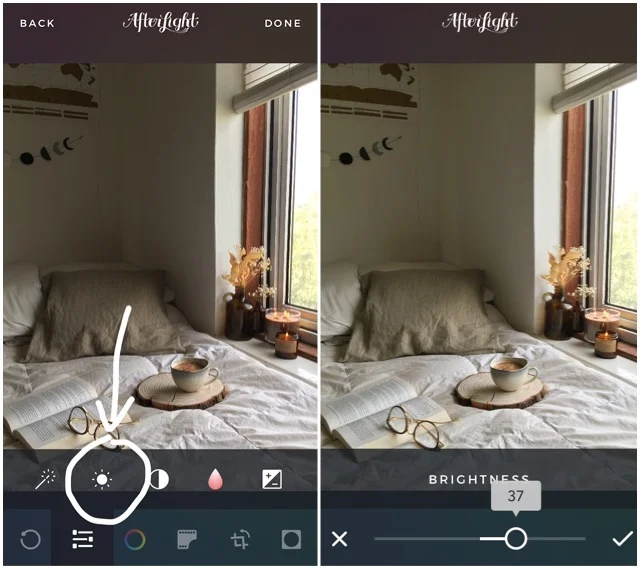
The next step is to add the dusty filter so I click the button and choose which filter I want to use, usually I pick filter 11 and then I'll turn down the opacity, so it's a little bit more subtle, to around 30. Again generally I just go with whatever I think looks good for the particular picture.

This is how the picture looks after I've finished editing on Afterlight.

The next thing I do is use VSCO to add a filter. Once I've uploaded my photo to my VSCO album I go to choose the filter I want to add, usually A6, which I then will usually turn down to about +9.0 or again however it looks best with the picture I'm editing. Also depending on the photo I'm editing I might increase the temperature to add warmth, which I did with this picture, up to +0.6. Then I saved it to my camera roll as 'actual size'.


And this is how the image looks after I've finished with it on VSCO...
For a long time this is where my editing process would stop and then one day I discovered Snapseed! Snapseed is free and I've found it to be one of the best editing apps around. Once I've opened my photo on the app I go to filters and click grainy film. I add the filter X04 and adjust the settings as in the picture below.

The next thing I do is use the brush tool on Snapseed to brighten the darker bits of the photo, in this case the back wall that looks particularly dark. I would usually up the exposure to around +0.7 and brighten the wall.

And that is it! I might tweek it a bit on Instagram before posting and if I'm editing a flatlay I probably wouldn't brighten it as much and I might add more grain or something but it honestly just depends on the photo and what the lighting was like on the day that I took it.
Anyway this is how this particular photo looks before and after...

I hope this has given you an insight into how I edit my Instagram photos and this hasn't been too boring— if you have any other questions please leave them below and thank you so much for reading!
X