
HOW I EDIT– OUTDOOR PICTURES.

I've just uploaded a picture on my instagram– a picture of a pretty street we found in London and I thought now would be the perfect time to share an updated blogpost on how I edit my pictures. Not too long ago I made a post on how I edit my indoor pictures, like one of my bedroom or a flatlay for example & if you haven't seen that one yet, click here to read it!
Since I've been posting a lot more of my outdoor pictures on my feed and on my story, there has been a lot of interest on how I edit those, so keep reading to find out how!
Again I just wanted to mention that this is just the way that I choose to edit my pictures and just because I edit mine this way it doesn't mean I don't think other types of edits are nice or that you shouldn't experiment on your own pictures because as well as taking inspiration from others it's also great to find your own style in terms of editing!
Okay so this is what the original picture looked like before I started editing...

The picture was taken with my iPhone 6s and I edited completely on my phone– so the first thing I did was open it up in Lightroom where all of the magic happens! I started by clicking on the light tab and upping the exposure and the whites to make the picture a little brighter. I also turned the contrast down a little.

After that I clicked the colour mix tab so that I could turn down the blue tones in the picture. As it was such a bright day when I took it I wanted to really take out the blue in the sky to make the picture look a whole lot more neutral. To do that I clicked on the darker blue colour and turned the hue down a little and the saturation down a lot– I also turned up the luminance to the max as I think this makes the effect look better. And that got rid on the bright blue sky!

I then tend to change the hue of the green in the picture– making it a warmer shade and making the picture as a whole more warm. I also clicked on the temperature and turned up the warmth a little just to get the effect I wanted. And that's how I use Lightroom to edit and every time you see an outdoor picture on my feed I will have done something similar to edit it. This is how the picture looked when I was finished in Lightroom...

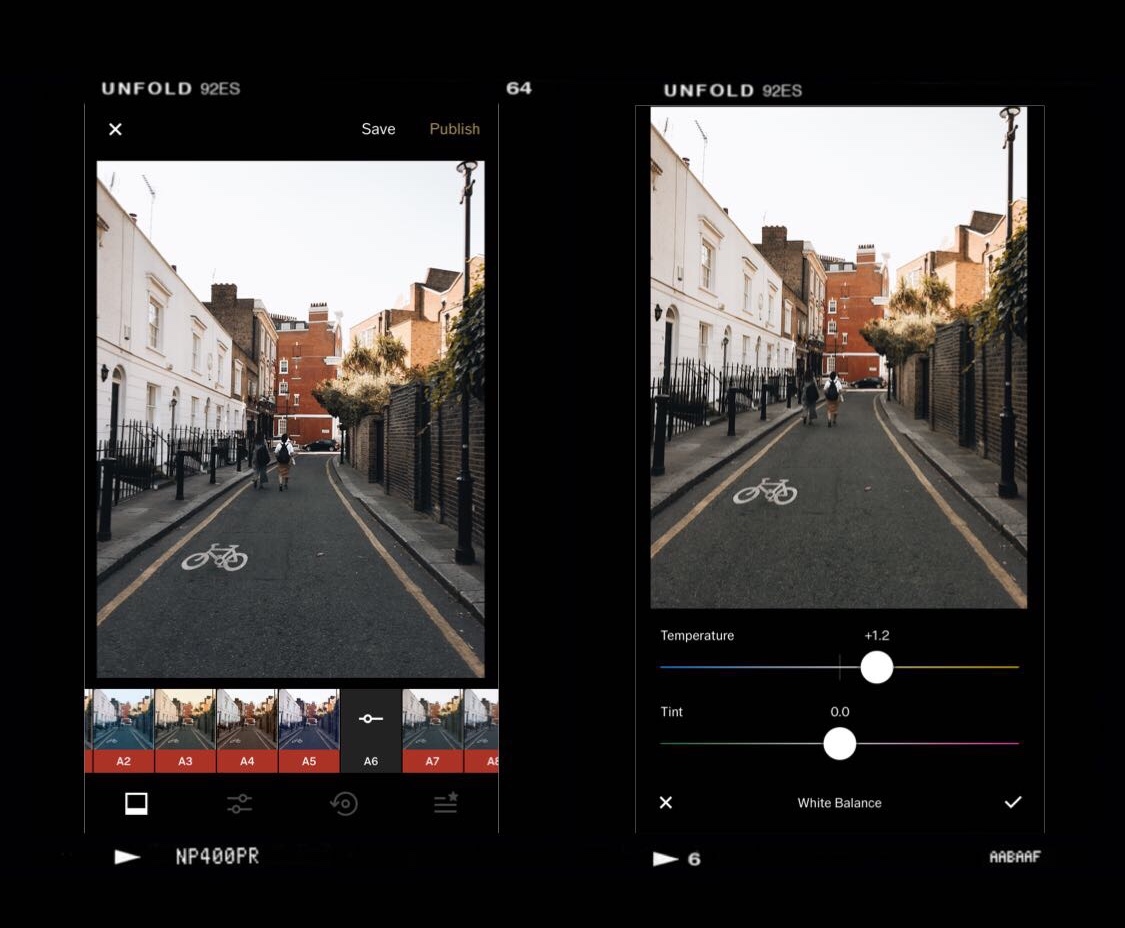
Next I opened the picture in VSCO to add my usual filter there– A6 and sharpened the picture a little and next I opened in Snapseed to add my other usual filter– X04. Snapseed is also where I rotated the picture to make it straight and used the brush tool to make sure the exposure was looking okay– I brightened some of the darker bits and vice versa.

And thats it! This is obviously just how I edited this particular picture and the process does vary based on what the original picture is like and how bright it was etc when I took it but that's the basic explanation of how I do it! Here's a little side by side comparison...

I really hope this has helped to answer your questions on how I edit my outdoor pictures– if you have any other questions don't hesitate to leave them below! Thank you for reading as always and I hope you're all having a beautiful day! ♡
X